Pages

Tuesday, June 24, 2014

Chalkboard sign

You know all those chalkboard signs you see all over the internet? Well the problem with those is chalk is very hard to draw with and once you get it drawn and all perfect then you have the risk of someone erasing your hard work!

I bought this picture and frame at one of my favorite thrift stores for a whole $3.99!
 Next I took the picture out of its frame and painted it all black.
I used oil pastels for the "50 years ago in" the rest is all done in colored pencils. This was a very fun and easy project! I enjoyed it so much I think I'll make another! 

The glare makes it hard to read, in person it looks much better!

Tuesday, April 22, 2014

Olaf Costume

My friend always throws the best theme parties and this year she didn't disappoint. She had a Frozen party for her daughter. They had every character covered except Olaf, so Super Ollie came in and claimed the roll!
I searched for hours trying to figure out how to dress him like Olaf. Could you believe I couldn't find one single idea that would work for him!? Now remember he's only 2 so it's not like I can paint his face or else that would have worked. He also doesn't like hats so that route didn't work either. Finally I figured I'll just draw on clothes for him!


I found this white t-shirt and pants at Hobby Lobby for under $5


I already had some Fabric Sharpies from doing our Walt Disney World Autograph Quit http://lunaslovelylife.blogspot.com/2014/04/walt-disney-world-autograph-quilt.html


First I drew his face on paper.


I knew I'd have to make custom colors for his nose and hair so I practiced on the band of the pants to mix colors to get the right shade.


I slid the paper into the shirt so I could copy through it.


Mr. Oliver Olaf ready to party!


Walt Disney World Autograph Quilt

*First I'd like to start with saying, I have never, ever, ever, ever, EVER made a quilt before! These quilts would not be possible without the help of my amazing in-laws! So a HUGE thank you to them!
With that said, I apologize for the following instructions. I have no clue as to the proper terminology of quilting so I will explain as best I can if you have any questions please ask.


We were lucky enough to take a trip this last January with one of my very best friends Melissa, her 5 children and husband. Last minute my in-laws were able to come with us too so we had 6 adults and 6 children. It was a year worth of planning, keeping secret from her children and unfortunate last minute changes. It was incredible, hectic, emotional and more fun then I could ever imagine! Of course the way we do things is last minute so about two weeks before we were to leave for Disney World we decided to make autograph books for all six children. While we were making them, I was trying to think of something that could be a little keepsake for us adults. I'd of course thought just autograph books for us too but I really wanted something more. Here's where my in-laws come in, they're huge quilters, they have made many beautiful quilts, go to shows and have their basement all set up for quilting, its incredible! I've never made and really never thought I'd be interested in making quilts, I can officially say I'm addicted :)

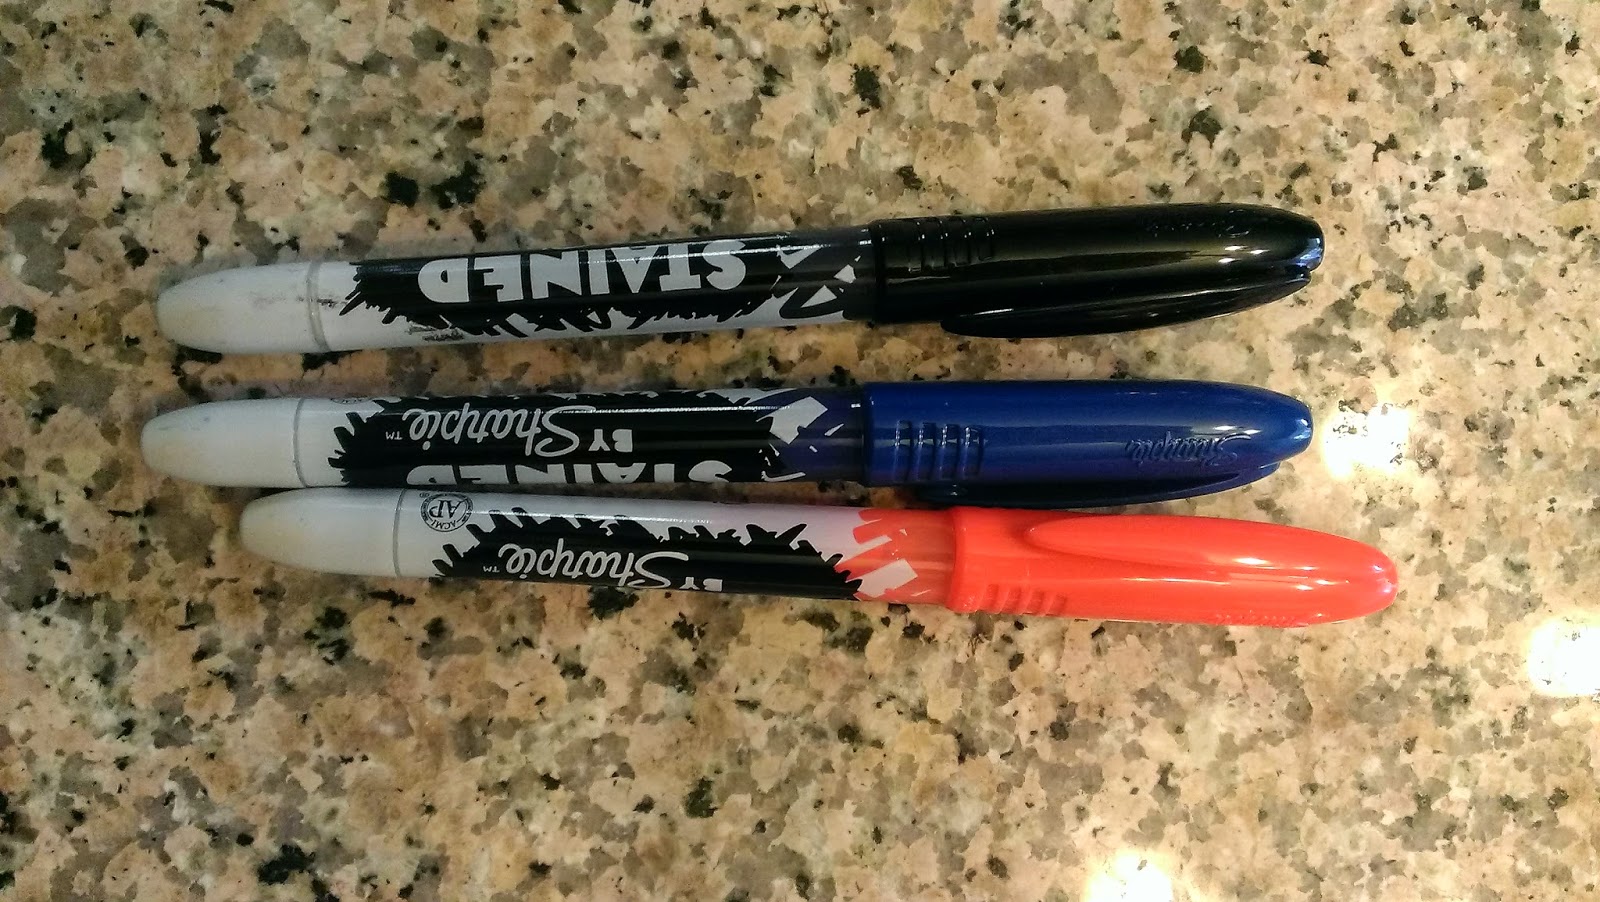
So I decided, eh why not make an autograph quilt!! Now this idea came around the one week mark before take off. So I hurried and bought some white 100% cotton and cut them into 8x8 squares. If I were to do this again, I would make sure to cut the squares bigger, probably 9x9 and I'd make sure to cut them better. I did a very sloppy job and that came back later to bite me in the butt. I divided them into two piles. I believe I cut 50 for each pack. I also had my husband cut two 9x9 squares of wood and used alligator clips to clip the fabric on all four sides. This worked great so the characters could sign easily without the fabric slipping around. It was a little hectic for us adults to keep up with switching the fabrics out quickly but we did good. I also picked up a pack of Fabric Sharpies.
Something that was really important to us was getting to see characters and getting pics and autographs. Now remember we had 6 autograph books plus two fabrics squares for EACH character to sign! I think the characters may have put restraining orders on us after all that torturous signing ;)

After we got home and settled down from our incredible week in paradise I couldn't wait to get started on our quilts! I took all the signed pieces to my in-laws and we got to work figuring out how to place it all together. Remember I had never made a quilt before so I really had no clue how I was going to piece it together.
We laid out all the signed pieces and counted out what we had, there were 22 for each quilt. After much deliberating and several times rearranging pieces we decided to make a border of signatures. We did 7 down and 6 across. Also we decided to put in thin black borders to help the white pop. Oh and before all this we squared up the pieces. They ended up having to be cut to 7.5x7.5 (This is where it got messed up because of my sloppy cutting)

See what I mean about a cool setup for quilting! This is a piece of fabric hanging on the wall that you can attach your pieces of your quilt so you can see how it's piecing together.


I'm hoping my pictures do the talking for me.

So apparently when you quilt you start from the inside and work out. Well because of the uniqueness of this quilt we had to work it a little differently. Yes I'm trying to shove the blame away from my poor planning and pretending it's the unique quilts fault.
After we were able to figure out our inside size we had to figure out what to do on the inside. My mother-in-law has an incredible sewing machine that embroiders and on it, it has several Disney characters! How fitting! We decided to use those to make a cute inside.

Again framed them with black to match the signatures.


Of course I wanted to have Disney World and the year on it so for the very center we cut a white piece and we carefully placed Jiminy, Ariel, Sebastian and Flounder so they could frame the letters and year. We didn't have the Disney font for the embroiderer so I just did these ones by hand with a black sharpie. A little extra back story, we chose Jiminy because he's my Father-in-laws favorite character and if it wasn't for him this trip wouldn't have happened so I thought it was important to have his favorite at the center of the quilt :) Ariel, Sebastian and Flounder happened to be the best fit in the space but worked out great cause they're some of the many favorites of Melissa's family.


We did the chevron sides to help give it a little extra too. Those didn't get to be on our quilt because our squares ended up having to be cut a little smaller so in a neat way each quilt is the same yet very different :)

After getting the center placed together we put a colorful border around it. The prints on the fabric are classic versions of Mickey, Minnie, Donald, Daisy, Pluto and Goofy. This fabric is directional fabric which proved to be a huge pain! Something I learned mid quilt. So if you decide to do this make sure you consciously decide if you want to mess with directional or not.

Now to attach the signatures with the center! So exciting watching it all come together!

I love huge blankets so I knew I wanted to make each very large so we added an additional border to the outside.


All done, ready to be set to the quilters!

Here it is after getting quilted and the binding put on.


Just got our quilt back today! Here it is, all finished!


Wednesday, March 12, 2014

Dressing up my front door...


Lately on Pinterest I've been seeing several ideas for front door wreaths and dressed up letters. The other day I found a pre cut wooden frame and "P" at Michael's on sale so I painted them nice bright colors then did a coat of sealer to protect them. I used clear command hooks to hang them. Pretty simple!

Wednesday, February 26, 2014

End Table makeover


Last summer I fould a great deal on a set of Mission Style end tables and coffee table at a yard sale, I was so excited because I've always liked the look of this style. They were banged up in several spots so I knew I'd need to refinish them. I finally decided to bring them in and start working on them.


Here's the before of one of the end tables...

I love the brushed on, distressed type look on furniture. So I took a can of regular wall paint that's a sky blue color and lightly brushed it on.


Next , after a lot of debating with myself, I decided to do the top solid chocolate brown. Again just a can of regular house paint that I had laying around. So I used a foam brush and did two coats.

This pic is after the first coat...

Here it is finished!!
All that's left is a coat or two of clear satin finish polyurethane.
Now on to the other end table then coffee table!


Tuesday, February 4, 2014

Giant floor pillows!

The other day I was picking up one thing from the craft store and wouldn't you know it, I left with a cart load! I happened to find the remnants basket at the craft store and they were all 50% off!! I pick and chose patterns I liked then found black to use for backing.


Here's the part where perfectionists will cringe, I didn't square up my fabric, I didn't even measure to have them be the same size, I just laid them (pretty sides in) and went to town sewing. I left one end open so I could stuff them.


I'm cheap, so I didn't want to buy filler, so instead I went to a thrift store and bought several pillows (all under $1). After I got them home I washed them then after they'd dried I cut them open and stole their innereds. 


I think they love it! Now to finish the rest...and get more pillows!

Here's the other remnants I picked up...


Tuesday, January 28, 2014

A new twist on Childs handprint...

I see ideas all the time on Pinterest of cute crafts to do with your child's hand. They're all adorable but I always think of how hard that would be to dip my child's hand in paint and carefully place it on an ornament, or even flat on a piece of paper! Older children would be easier but a 20 month old...not so much.
 
I seen a photo similar to this particular craft. It was using an adult hand and it was a little more sophisticated looking. I wanted mine to be simple and raw.
 
First you must always sharpen a new pencil, because in this house sharpened pencils run away....so do pencil sharpeners. Oddly enough though, pocket knives seem to multiply.

Luckily I had two pieces of sketch paper left from way back when I use to draw.


Next I showed my child how much fun it is to hold your hand in place! This step took several tries (hence my hesitation to purposely putting paint on those wiggly little things!)


After tracing the paw lightly, I then started drawing lines across the paper. Rulers run away from this house too so I stole my sons wooden puzzle to use. He wasn't happy about me borrowing it so I had to move to the dining room table.
 
 
Here's where it starts to get tricky. Where the lines are of the paw you draw a curved line. I wish I had taken this step more seriously and really curved the crap outta those lines! You'll see why later...
 
 
Obliviously the paw didn't want me to center it on the paper, so I just measured best I could to center it to be an 8x10.
 
 
Next I traced over the pencil lines with sharpie.


You can see the paw coming to life...
 
Next I choose to do Rainbow colors, so I counted out how many spaces there were and divided it up so it was evenly across the paw.
If you look closely from the last photo to the next, you'll see I ended up adding lines in between. The paw wasn't sticking out as well as I'd hoped, this is why I'd wished I'd emphasized the curves.


Its not as perfect as I'd like it to be. If only I had curved the lines more it'd really make that paw stand out! If I do another, I'll definitely CURVE more!!! But I really like it. It's unique and different, plus colorful much like the owner of this adorable little paw :)
On the back I wrote his name and the date. Soon I'll frame it and hang it in his room.